Skip to Main Content

STAFF: Library Catalogue "Destiny Discover"

Create a Collection

You can create a collection in just a few clicks.

  1. From the Collections homepage, select Private > Create a Collection.

    Notes:

    • If you have already created at least one collection, then click undefined in the bottom-right corner to create another collection.

    • You must have a Destiny user account. Guests cannot create a collection.

    • You cannot create a collection from the Public tab.


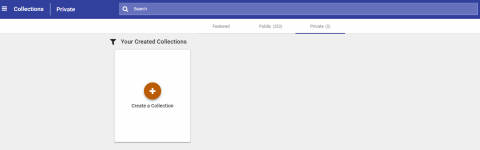
    A workflow walks you through the details.

  2. For Step 1, Title/Description, do the following:
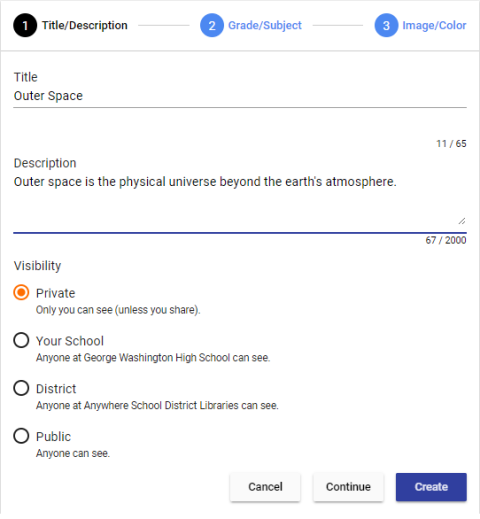
    • Enter a Title for this collection. The title appears on the Collections homepage and when you open the collection. This field is required.

    • Enter a Description for this collection. The description appears only when you open the collection. This field is optional.

    • Select the Visibility for this collection. The default visibility is Private, but you can make the collection available to others in your school or district, or anyone you choose.

      Notes:

      • Some of the visibility options might not be available to you, depending on your user role.

      • If you select Your School, only people at your school can see your collection.

      • If you select District, only people in your school district can see your collection.

      • If you select Public, anyone can see your collection.


  3. When you are done with Step 1, do one of the following:
    • Click Create. Once you have created a collection, you can save resources to it.

    • Click Grade/Subject or Continue to add grades, subjects, images and colors.

    Notes:

    • Step 2, Grade/Subject and Step 3, Image/Color are optional.
    • To exit the workflow, click Cancel.

  4. For Step 2, Grade/Subject, do the following:
    • To add grade levels and subjects, click the appropriate tags to select the desired options.
    • Click Create. Or, click Image/Color or Continue to move to Step 3.

    undefined

  5. For Step 3, Image/Color, do the following:
    • To change the collection image, click undefined. Then, select a stock image or upload your own custom image.
    • To customize the color for your collection, click the corresponding swatch. The colour appears in the banner. 

  1. Click Create.
  2. Add items to your collection.

Add the "Collections" Bookmarklet

The bookmarklet makes it easy to save resources from around the web.

Note: You can only install the bookmarklet in a Google Chrome™ browser. It will not work on an iOS device, such as an iPhone or iPad.


You can install the bookmarklet by doing either of the following:

  • Clicking Install the Bookmarklet on your Profile page. Then, drag Add to Collections from the page to your browser's bookmark toolbar.

    Note: The Collections bookmarklet option is located under Companion Tools on the Profile page.

    Add to Collections bookmarklet.

  • Adding a weblink to your collection.

    Add Items page with a URL field.

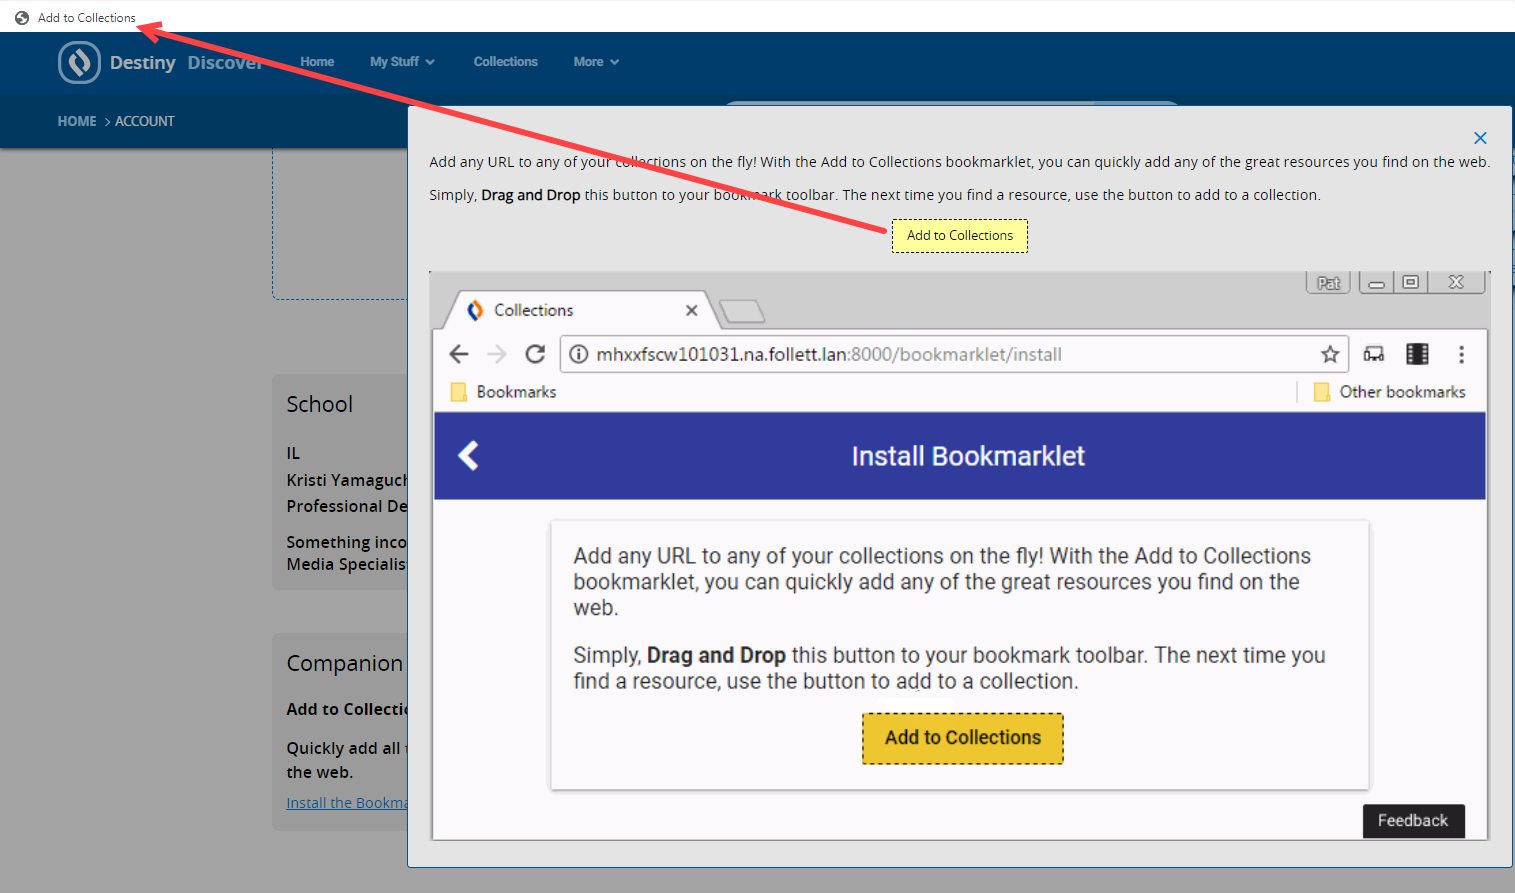
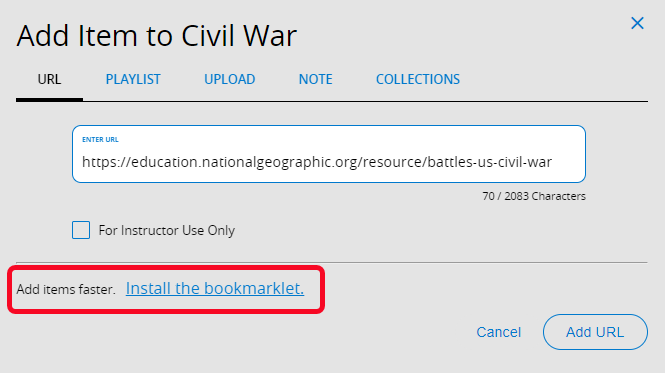
    The first time you add a weblink to your collection, a pop-up asks if you want to install the bookmarklet. To do so, just click Install the bookmarklet. Then, drag Add to Collections from the page to your browser's bookmark toolbar.

Once the bookmarklet is installed, you do not need to open your collection and click Add icon. to add an item to it. Instead, click Add to Collections on your browser toolbar whenever you find a resource you want to save.

You can add the item to an existing collection, or create a new collection on the spot.

Notes:

  • The bookmarklet captures the item's title, description, URL, image and tags from the website.
  • If you want, you can rename the bookmarklet link in the browser toolbar after you install it.


©2020 Follett School Solutions, Inc.